
I have been blessed to have the time to learn a new medium, woodcut, over the past year. I still have a lot to learn, but thought it was worth sharing a bit of the process. I have recently found to really enjoy "reduction" prints and think it is worthy to show a bit of how these prints occur.

Here is the carving for the SECOND print (if you look close in the first photo you can see the FIRST carving of this block prior to printing) of this block, you must think in reverse in a few ways throughout this process, the image prints in reverse and the marks you make are actually the places where there will be no ink. I carve these meticulously with various hand-forged Japanese style gouges and knives. These are amazingly sharp, and rather dangerous, there is not a moment without complete concentration. I first transferred my sketch onto the block by rubbing charcoal on the back of the original then tracing the lines. I then refine the lines with ink and seal them so they won't print onto my proofs. The block is stained red so I can more clearly define where marks have been made.
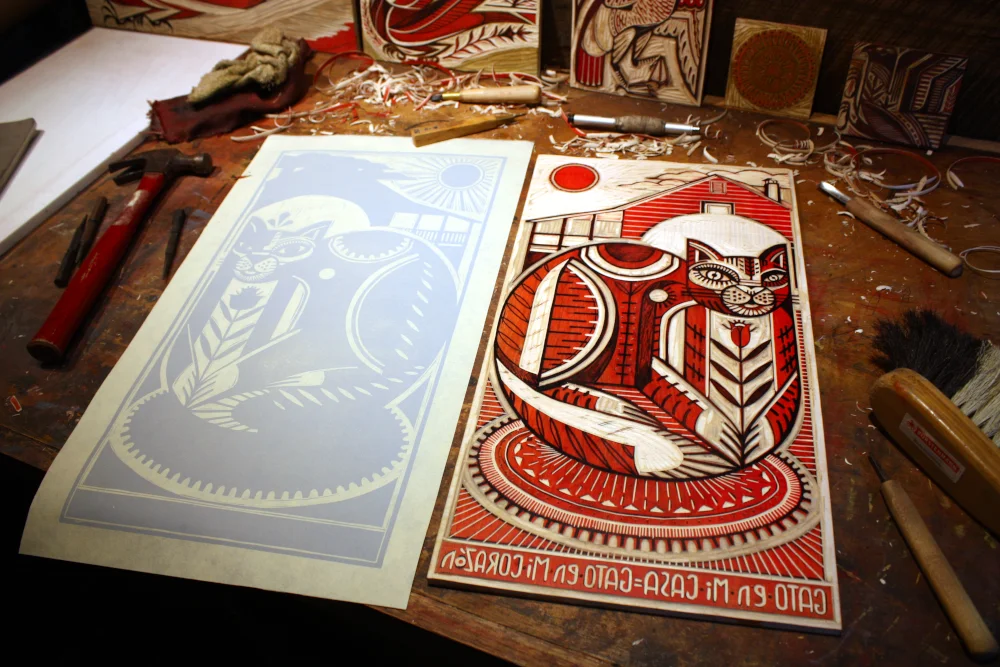
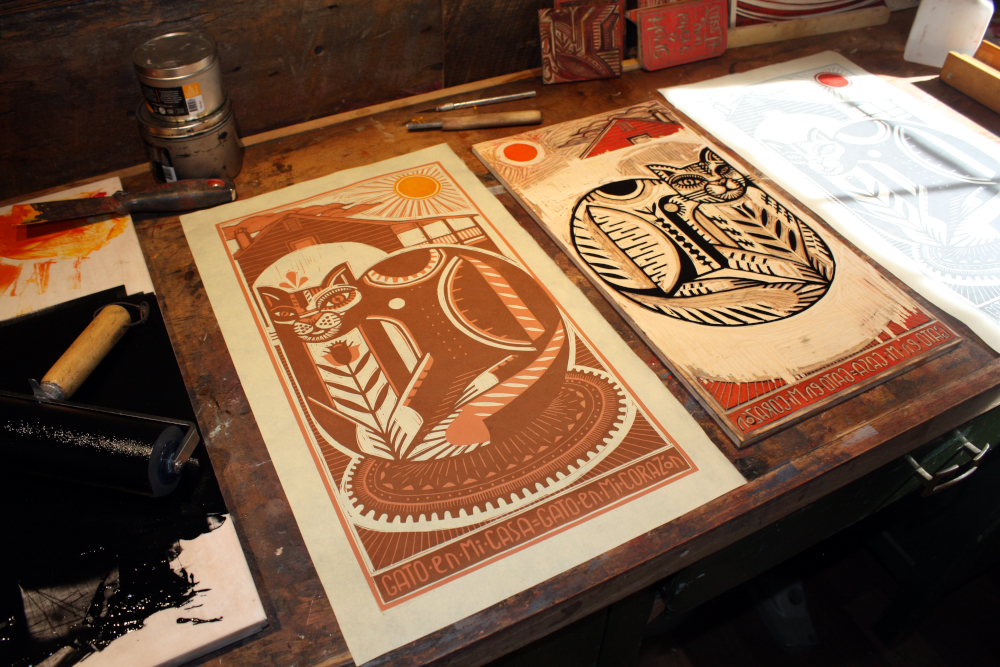
Here is the cut SECOND block and FIRST print of this block in a light gray-blue. I also printed these in a warm color as well. You can see some various carving tools around. I use nail-sets for making dots. This was printed by putting pressure evenly on the block by rubbing a ball bearing baren across the surface of the paper. The block was inked using a rubber brayer that was evenly rolled in water soluble oil-based inks that were then rolled onto the block. This paper is hand-made Thai Mulberry paper, it is delicate yet fibrous, it allows me to see the ink applying to the paper as I rub it with the baren. I also use a registration jig I built to help align the papers consistently between colors. You can see this in the below picture of another print, and my baren as well. (In the below print I used scrap pieces of wood from other prints and inked each block individually.)
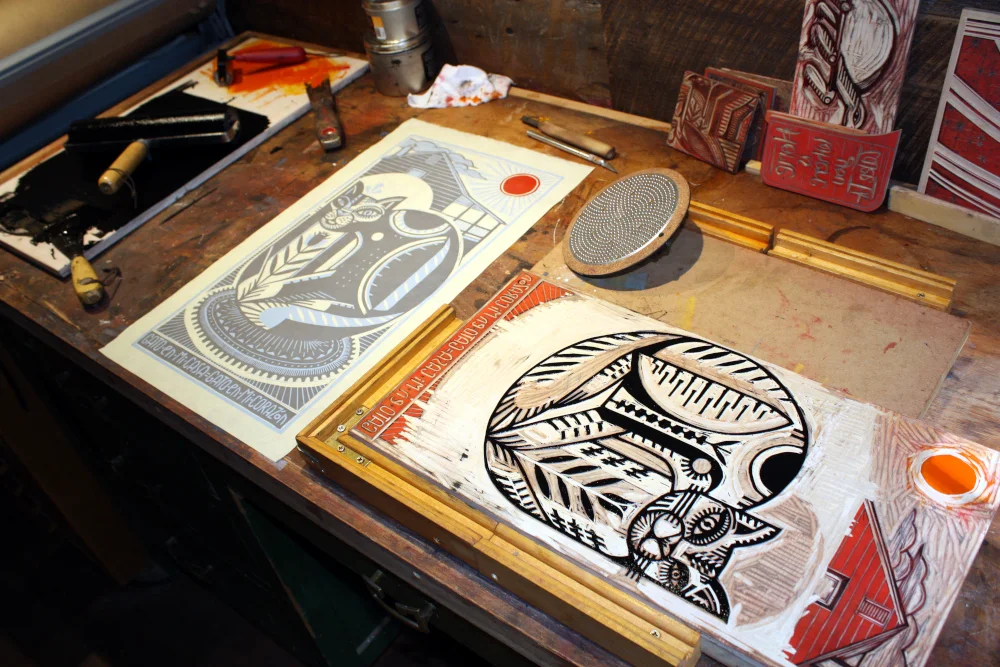
Here I am about to print the final colors, black for the cat and a transparent orange in the sun.
Here are the prints and block after the SECOND block has been printed and the THIRD and final block has been carved and inked (here you can see my large brayer for inking the black and my small brayer for inking the sun is just out of view.) I was able to ink the sun separately because there was enough space to allow me to ink it without inking other portions of the block. The challenge of this process is that you must continue to consider after the first block "whatever I remove stays the color I just printed." So after I carved the and printed the first color, I had to hold in my mind that whatever I carved from the block would remain the lightest color (light blue-gray or a light peach.) Then after the next printing I had to hold in my mind that whatever I removed would stay the darker color, and whatever I left on the block would be printed my last color, black. This requires commitment, anything removed from the block cannot be put back, and after you start the process there is no going back and printing more prints. As you can see in this picture there is not much left on this block. It is wonderful actually, I enjoy carving away what I have spent hours carving, it it feels appropriate to the nature of things. Every act of creation is an act of destruction in its very nature, this is very very clear in this process.
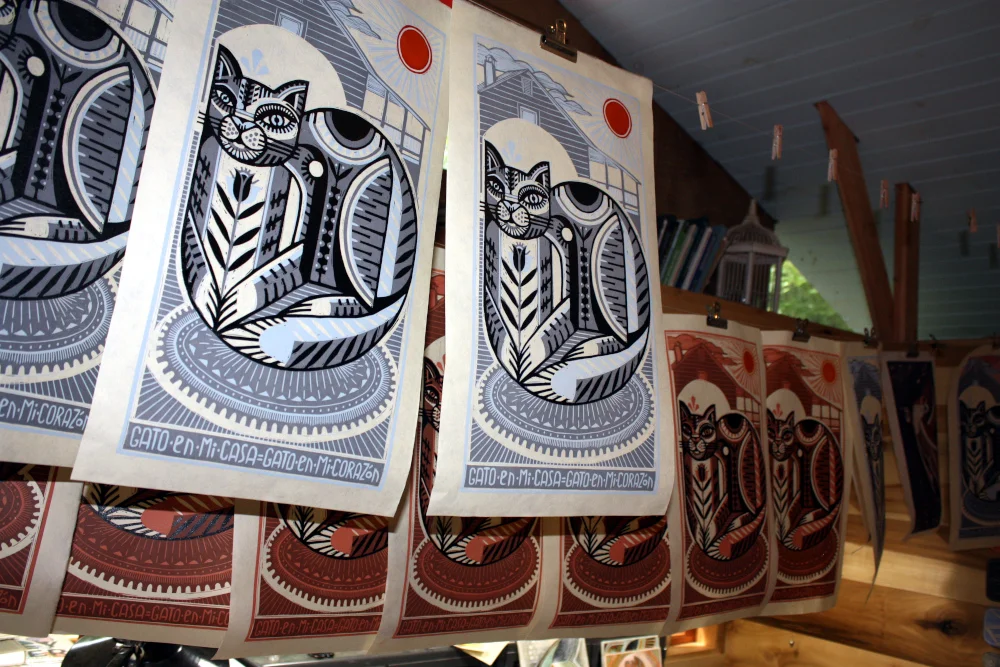
Here we have the two colorways hanging to dry in my little "budio" these take about two days between colors to dry. I have been adding more and more hanging lines in my studio as I am making more and more prints. For this print I started with 15 of the cool colored prints and 10 of the warm color prints, I lost a few along the way to mis-registration and such and ended up with 20 prints I deemed successful enough to carry onto the next step.

The finished prints! Although, this is not actually the final step... After this I will cut panels to mount these prints to using wheatpaste I have made and then finishing the edges. They will then receive multiple coats of artist varnish, be signed, and be prepared for hanging. Some of the prints will get border accents and frames, each one will be its own original work of art.
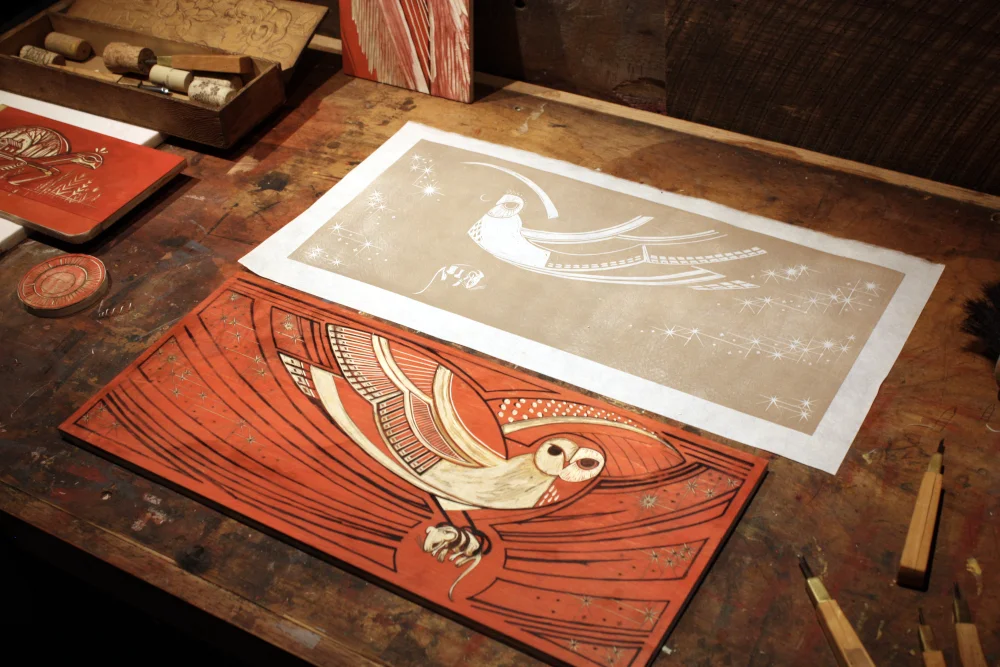
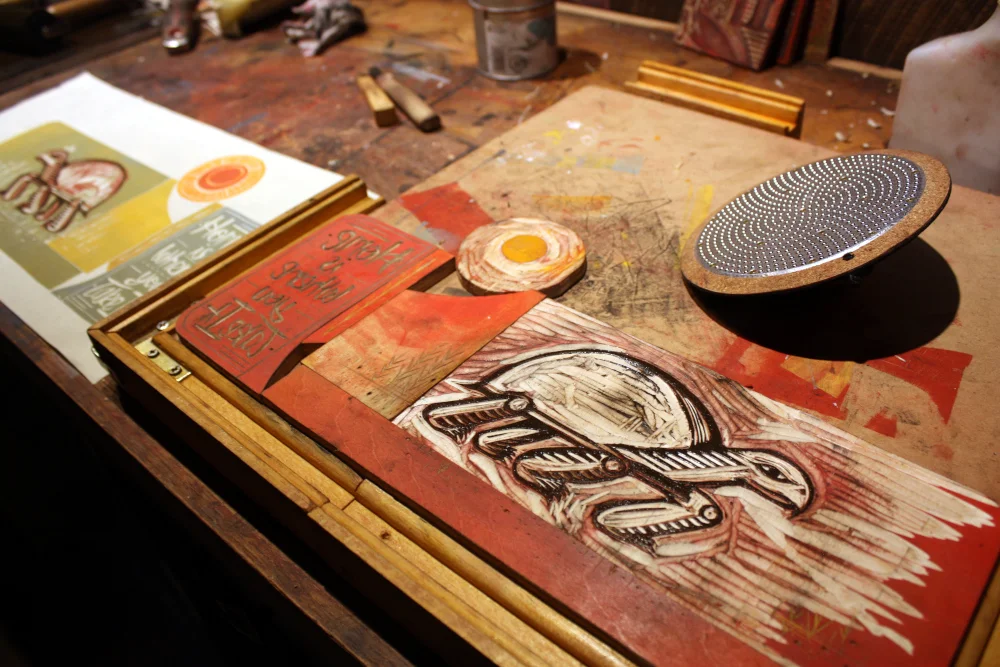
Another first color and second block for a different print. This one was 4 colors in the end.
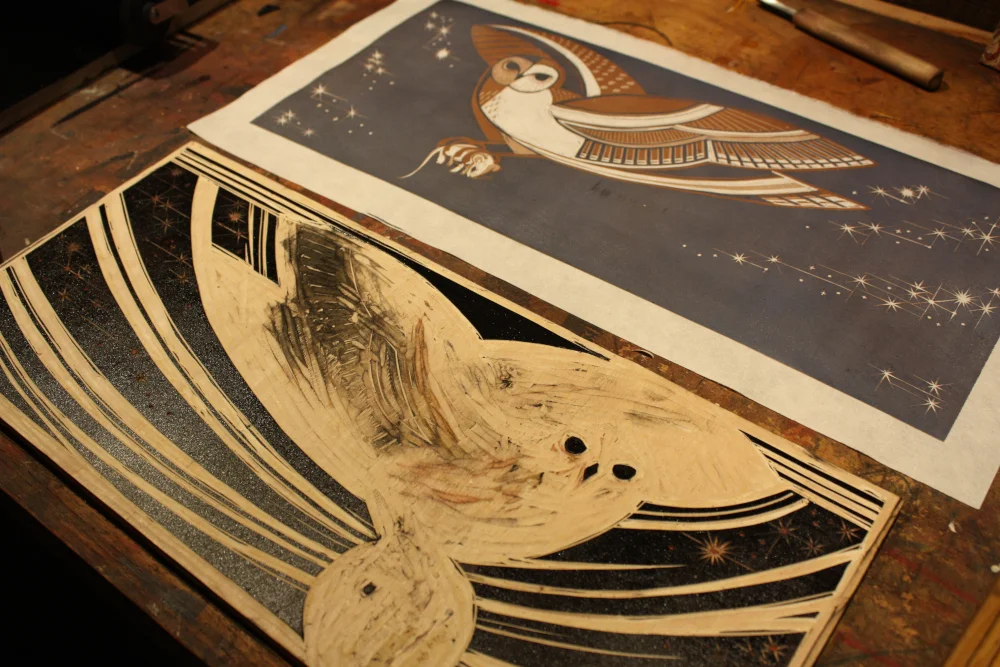
Here we have the final block carved and the first three colors printed.
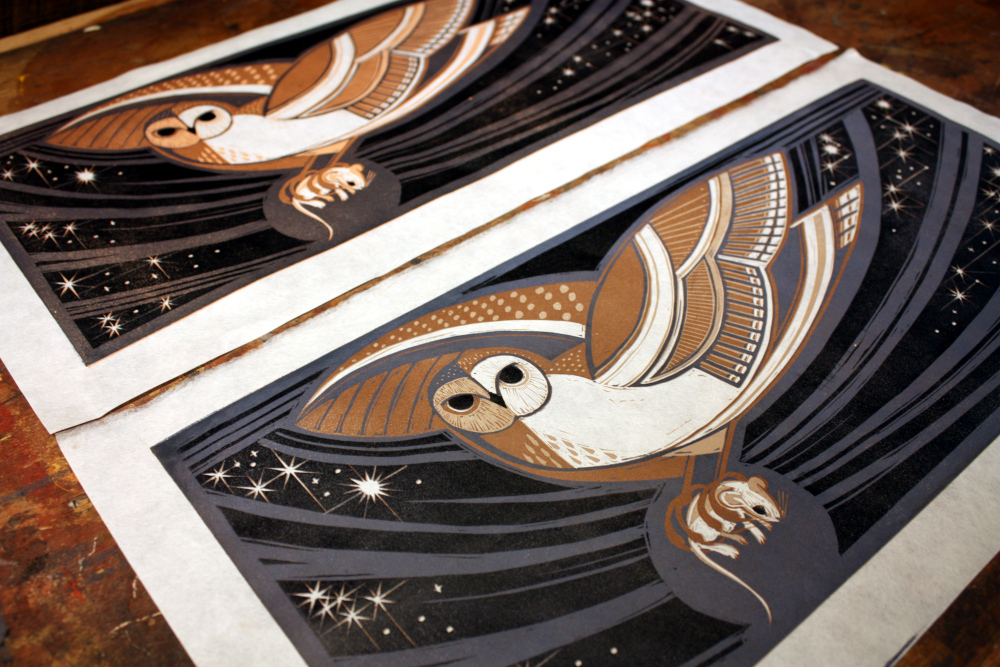
And, the final prints in two different colorways.

Here are a couple final prints of the piece from above, there are 8 variations of this, as each block was inked independently they have a wide variety of results.